The initial "anaglyph hardware works" video has been posted to youtube, and can be seen here:
http://youtu.be/ZvGYU_WOAIw
Recorded to VHS tape for extra bonus "retro-style" points.
Thursday, July 31, 2014


inb4 july is over
So the bwtwo-to-VGA video board is all soldered
up (yes, that bizarre combination of point-to-point
soldering, wire-wrap, and header plugs that
accumulates itself when trying to rush-design a
board.
input BW2 monochrome signal
1152x900 one-bit (that means black-and-white)
62.5KHz
66.667HZ
output VGA color signal
anaglyph red/blue alternating even/odd
What it does:
Allows the bwtwo framebuffer to output
1152x900 interlaced anaglyph (red/blue)
3D output.
Unachieved hopes and dreams:
to also interface an interrupt to the
NCR 5380 SCSI controller, and have
true interrupt-driven double buffered
anaglyph 3D on the Sun 3. After killing
the video output on one board, I didn't
risk sending signals into the SCSI port.
How it works:
Uses dual D-type flip-flop as
toggle mode, using the vertical and
horizontal sync signals as the clock.
Uses comparators as and gates based
on whether the current frame/line
match parity (which is output of the
flip flop) to power transistors which
are switched by the bwtwo's video
signal (which is approximately 100MHz).
If the current frame is even, and the
line number is also even, drive the
video signal on red. If the current
frame is even, and the line number is odd,
do not drive any signal. This blanks
odd lines on even frames.
If the current frame is odd, and the
line number is even, blank as well.
However, if the frame is odd, and the
line number is odd, drive the video
signal on blue.
So the video stream is interlaced across
odd and even lines. Since the alternative
lines are blank, the Sun 3 can be drawing
into those lines without any visible
artifacts appearing on screen, but since
I didn't get the interrupt happening
there isn't any way to time the updates
as it stands right now.
Photos to come soon, don't worry, I have a pile
of stuff to upload still. As far as I can tell, there's
no reason this couldn't have been done in 1987,
as the parts are bog-standard. I had them all on
hand. The only thing I had to buy during this
compo was the Torx screwdrivers to open the
keyboard.
Wednesday, July 30, 2014

Tuesday, July 29, 2014
mourning the loss of a bwtwo
Since it seems like we got extended play in this compo, I decided to
go for broke and wow the judges with something that's never been done
on a Sun 3/50's bwtwo before (beyond just a techtech on a crt, or
getting it amped up and on an lcd panel, though I do wonder if I was
the first to get these things happening as well).
Just like Damon, stabbed in the chest for no apparent reason by the
riverside at the end of the last episode, the poor little bwtwo in
my Sun 3/50 got stabbed in the V+ line with approximately 5 volts as
the competition is coming to a close.
Before I get hate from the Sun fans, let me say that I luv these systems
too, and would never intentionally harm one (my project is to restore one,
remember?), it's just one of those things like Icarus reaching too far
and his wax wings melting in the sun (nee daylight), well, I melted my Sun.
These things happen.
Actually the system still works fine, and even passes all the diagnostics,
but it doesn't output a video signal anymore, and I don't have time to
debug it, so I did a Schroeder and pulled the next unit out of storage
(there's more where this came from too: thanks to admash's hardware
donation I've got a lifetime supply of Sun 3/50 units) and will be
finishing up using the board from it instead of the one I started with.
Obviously I'm keeping the already-retr0brited case and accessories.
This new board is green-coloured instead of yellowish brown, and seems
to have the older rom revision since there aren't as many diagnostics.
Notably, the memory test I did on the original board I was using isn't
there on this board, so I haven't actually done as thorough of tests
on it. I'll probably swap the roms at some point, but I was just trying
to get back in the game for the moment.
What was I trying to do? Well since the compo isn't over yet, I don't
want to spoil the surprise and show my cards yet; hopefully we'll get
to see it working before the time ticks away, and even more, hopefully
I don't kill another bwtwo. This wasn't supposed to be a blog about
destroying bwtwo kit.
Sunday, July 27, 2014

Wednesday, July 23, 2014


Post-roundup update
Well, at least I didn't get a "this project seems to have fizzled out" status...
The Sun 3/50 project is totally still happening, and so here is some more imagery to appease the judging gods.
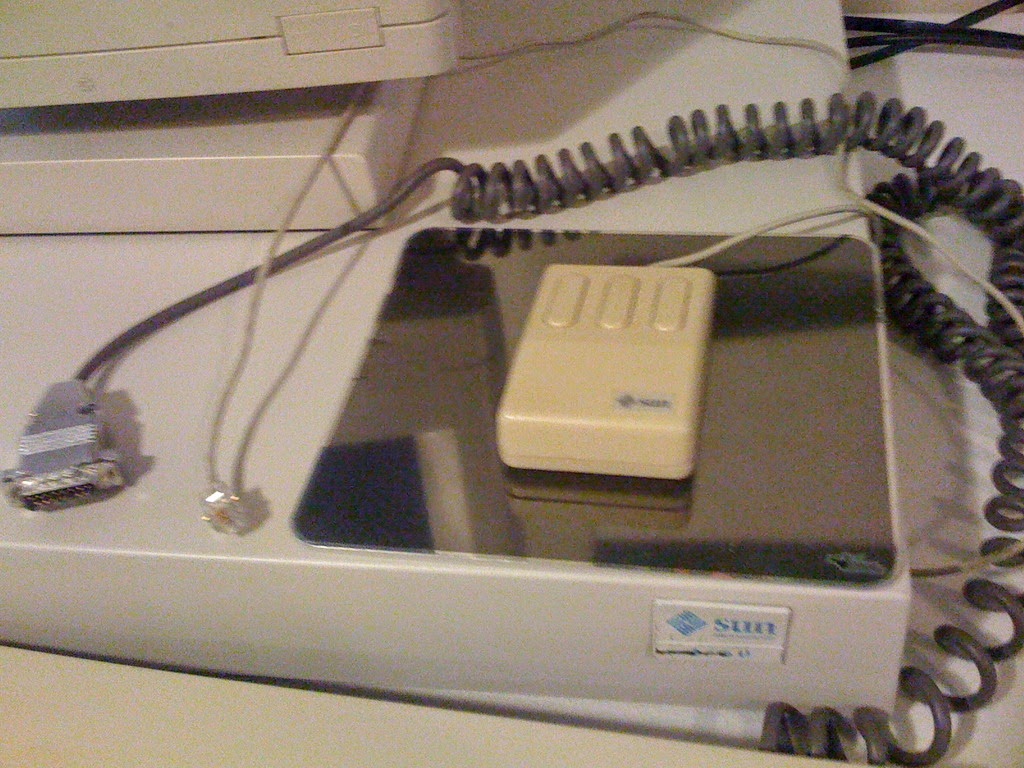
The keyboard and mouse has been retr0brited by now -- another three hours of daylight finally aligned with my project time -- and I also did the TeleVideo keyboard and a Sun Type 5 keyboard/mouse for good measure (supposedly the Type 5 is electrically compatible with Sun 3 systems, just using a plug adapter which I may or may not try to make, but the Type 5 mouse I have is a mechanical ball mouse, so if I need that I have the option). I did not do the bottom of the mouse because I feared the felt peeling up and since this is already a Sun4 doner part, I'm not risking it; so one of the pictures lets you see how improved the top piece of the mouse is compared to the unchanged bottom piece.
Also I included a 10Base2 ethernet proof shot for good measure -- yes, T-connectors and terminators included -- can you believe with as much thinnet cable and T-connectors that I seem to have that I only have two terminators in all my storage boxes?
I tried to get the pasty white look on the CRT, but the signal is too dim to drive multiple channels like that I suppose. I included a "it's too dark" shot for demonstration. Also I took some oscilloscope pictures on the HSync and VSync lines, and the verdict is vertical runs at 66.667Hz, and horizontal at 62.500KHz, if the HP16500B's measure mode is to be believed.
I drew a custom retro-style font, and got the numbers deployed to the Sun 3, and then spent some time playing with animating the numbers across the screen. I used the size 64x256 for the characters, and since I'm drawing alternate lines, it looks quite large, and easy to read onscreen.
Before deploying the rest of the characters, I decided I'd better look into compression for a bit. Well, after much debate, I selected to use the C-language lzss implementation by Haruhiko Okumura, mostly because the implementation was portable, and simplistic enough to understand. So I ported the decompression routine to run on the Sun 3 metal with no operating system (not too difficult, just had to implement a fgetcmemfake and fputcmemfake and replace the calls to fgetc and fputc in lzss's decode routine appropriately). Since there is no operating system end-of-file indication, and lzss only stops decoding when it hits EOF, I have to specify the expected byte lengths of the input and output, and return EOF when they are met -- simple enough.
To embed the data, I've noticed that any data specified outside of a function doesn't appear correctly, and ends up blank on the Sun 3, so to deploy the data, my approach is to declare an array inside main with the packed data #included from an external file. Main then copies the data into a fixed memory location (I'm using (unsigned char*)0xF0205000) and then calls the lzss decode routine, which decompresses the data to 0xF0200000. To prepare the data for inclusion, I do the following: Since each of the characters is 2048 bytes (obtained by converting the drawing to .pbm and stripping the header off to obtain raw bytes), the offsets from one to the next is known. Next cat each of the original files together into one unit, which I call numbers.unpacked. Use the lzss compressor on this to obtain what I call numbers.packed. Then using a line like the following, it's prepared for inclusion in the C source:
xd -2x numbers.packed \
|awk '{print "0x" $2 ",0x" $3 ",0x" $4 ",0x" $5 ",0x" $6 ",0x" $7 ",0x" $8 ",0x" $9 ","}' \
|grep -v '0x,0x,0x,0x,0x,0x,0x,0x,' \
|sed 's/0x,0x,0x,0x,//' \
>numbers.c
I suppose I'll need to do some more artwork now that I made it to this point.
Just for fun, I did a techtech effect, so I also included some shots of that. This is not doable by default with bwtwo hardware: if Debbie had tried this, she'd have been removed from the university computer lab for sure.
The Sun 3/50 project is totally still happening, and so here is some more imagery to appease the judging gods.
The keyboard and mouse has been retr0brited by now -- another three hours of daylight finally aligned with my project time -- and I also did the TeleVideo keyboard and a Sun Type 5 keyboard/mouse for good measure (supposedly the Type 5 is electrically compatible with Sun 3 systems, just using a plug adapter which I may or may not try to make, but the Type 5 mouse I have is a mechanical ball mouse, so if I need that I have the option). I did not do the bottom of the mouse because I feared the felt peeling up and since this is already a Sun4 doner part, I'm not risking it; so one of the pictures lets you see how improved the top piece of the mouse is compared to the unchanged bottom piece.
Also I included a 10Base2 ethernet proof shot for good measure -- yes, T-connectors and terminators included -- can you believe with as much thinnet cable and T-connectors that I seem to have that I only have two terminators in all my storage boxes?
I tried to get the pasty white look on the CRT, but the signal is too dim to drive multiple channels like that I suppose. I included a "it's too dark" shot for demonstration. Also I took some oscilloscope pictures on the HSync and VSync lines, and the verdict is vertical runs at 66.667Hz, and horizontal at 62.500KHz, if the HP16500B's measure mode is to be believed.
I drew a custom retro-style font, and got the numbers deployed to the Sun 3, and then spent some time playing with animating the numbers across the screen. I used the size 64x256 for the characters, and since I'm drawing alternate lines, it looks quite large, and easy to read onscreen.
Before deploying the rest of the characters, I decided I'd better look into compression for a bit. Well, after much debate, I selected to use the C-language lzss implementation by Haruhiko Okumura, mostly because the implementation was portable, and simplistic enough to understand. So I ported the decompression routine to run on the Sun 3 metal with no operating system (not too difficult, just had to implement a fgetcmemfake and fputcmemfake and replace the calls to fgetc and fputc in lzss's decode routine appropriately). Since there is no operating system end-of-file indication, and lzss only stops decoding when it hits EOF, I have to specify the expected byte lengths of the input and output, and return EOF when they are met -- simple enough.
To embed the data, I've noticed that any data specified outside of a function doesn't appear correctly, and ends up blank on the Sun 3, so to deploy the data, my approach is to declare an array inside main with the packed data #included from an external file. Main then copies the data into a fixed memory location (I'm using (unsigned char*)0xF0205000) and then calls the lzss decode routine, which decompresses the data to 0xF0200000. To prepare the data for inclusion, I do the following: Since each of the characters is 2048 bytes (obtained by converting the drawing to .pbm and stripping the header off to obtain raw bytes), the offsets from one to the next is known. Next cat each of the original files together into one unit, which I call numbers.unpacked. Use the lzss compressor on this to obtain what I call numbers.packed. Then using a line like the following, it's prepared for inclusion in the C source:
xd -2x numbers.packed \
|awk '{print "0x" $2 ",0x" $3 ",0x" $4 ",0x" $5 ",0x" $6 ",0x" $7 ",0x" $8 ",0x" $9 ","}' \
|grep -v '0x,0x,0x,0x,0x,0x,0x,0x,' \
|sed 's/0x,0x,0x,0x,//' \
>numbers.c
I suppose I'll need to do some more artwork now that I made it to this point.
Just for fun, I did a techtech effect, so I also included some shots of that. This is not doable by default with bwtwo hardware: if Debbie had tried this, she'd have been removed from the university computer lab for sure.
Tuesday, July 8, 2014


Progress update...
So ethernet was no big deal, however I did have to flip all switches of the dip block near the ethernet port to get it to use the 10Base2 (It was previously selected for the AUI port). And the mouse swap was no trouble, except the swap wouldn't have worked so easily if I had gone the other way since there is an additional gromet on the Sun 4 mouse cord where it goes into the mouse that wasn't there in the Sun 3 variation, and prevents the cord from fitting.
For a development workstation, I chose to use a Dell Dimension 4600, which was made in early 2004, thus meeting the competition guidelines. I'm running Plan 9 Fourth Edition, since that earlier opensource version still ships the 68020 assembler/compiler 2a/2c: I was surprised to find that a modern install of Plan 9 is lacking these components, which are critical to development for this Sun 3 project.
To boot, put the Sun 3's mac address in /lib/ndb/local along with a bootf (bootfile) value pointing to the file you want to boot. I have been writing simple C programs, and compiling them with 2c for use as boot files. To run the services, use ip/dhcpd, ip/rarpd, and ip/tftpd.
Unless I'm severely missing something, the bwtwo has no vertical retrace interrupt, and no double buffering, so ... frame tearing is excessive to say the least. Watch this space. I've got something planned: if it works. For now, enjoy the still shots.
Friday, July 4, 2014


Day 2
So I had actually not finished cleaning the keyboard on Day 1, but went ahead and put all those photos together, since it fits more appropriately. I have not yet retr0brite'd the keyboard due to it being too cloudy to bother. Also, inside the keyboard assembly the metal backing piece is starting to rust, so it should probably be hit with some CLR (calcium lime rust) or something and scrubbed; didn't do it now though.
I found a Sun 4 mouse with the same form factor as the Sun 3 one, and that one has both the felt pads, so I might case-swap the two since I don't have any spare sticky felt pads just laying about.
---
Okay, now for the real progress report. After crossing my fingers and wiring up the DE9 and DE15 plugs connecting HSync, VSync, Sync GND, and using the V+ and V- line from the bwtwo into the green color V+ and V- using a schottky on V+, I was able to get video output on a VGA CRT. Surprisingly, the one I selected first, a 17" AOC 7vlr, whose specs should support that signal doesn't seem to have a good picture, though it does sync up. The second CRT I tried, a Compaq 151FS looks much better, and I found out you can kinda obtain a "reverse video" if you stick the schottky diode in the opposite polarity, though the readability is poor at best in that configuration. The LCD panel I tried next didn't complain about HSYNC out of range or anything, but just mostly turned whiteish and you can't see the picture on it. Perhaps it's 'cause I'm floating all the red and blue pins or something. So I guess I will be trying to get proper white before I solder up the adapter. Since each of the R, G, and B lines are supposed to be 75 Ohm, connecting them together to the bwtwo's "video" lines would probably be too little resistance, since in parallel the current will spread across all paths. So probably will have to add like 50 Ohm resisters to each of the lines or something to get a proper 75 Ohm when combined. Will come back to this before building the final connector.
The other images in this set is just playing around with the memory fill command in the ROM monitor: since the bwtwo is at 0x100000, you can use the fill command to draw rudimentary patterns on screen by computing the offset where you want the pattern to begin and end at. Yay!
I'm guessing that green vertical line is happening during the HSync, perhaps it's not blanking all the way or something. If you adjust the horizontal position using the buttons on front of the CRT, you will see it move left/right but... I have no idea if it can be removed or not yet.
---
Next up: ethernet. I dragged out some 10Base2, T-connectors, terminators, and a 10BaseT + 10Base2 hub when I was doing the dungeon crawl through the storage boxes. More details after I have them attached and set up a boot server.


Subscribe to:
Posts (Atom)